
Last updated October 17, 2026
 Wrought iron
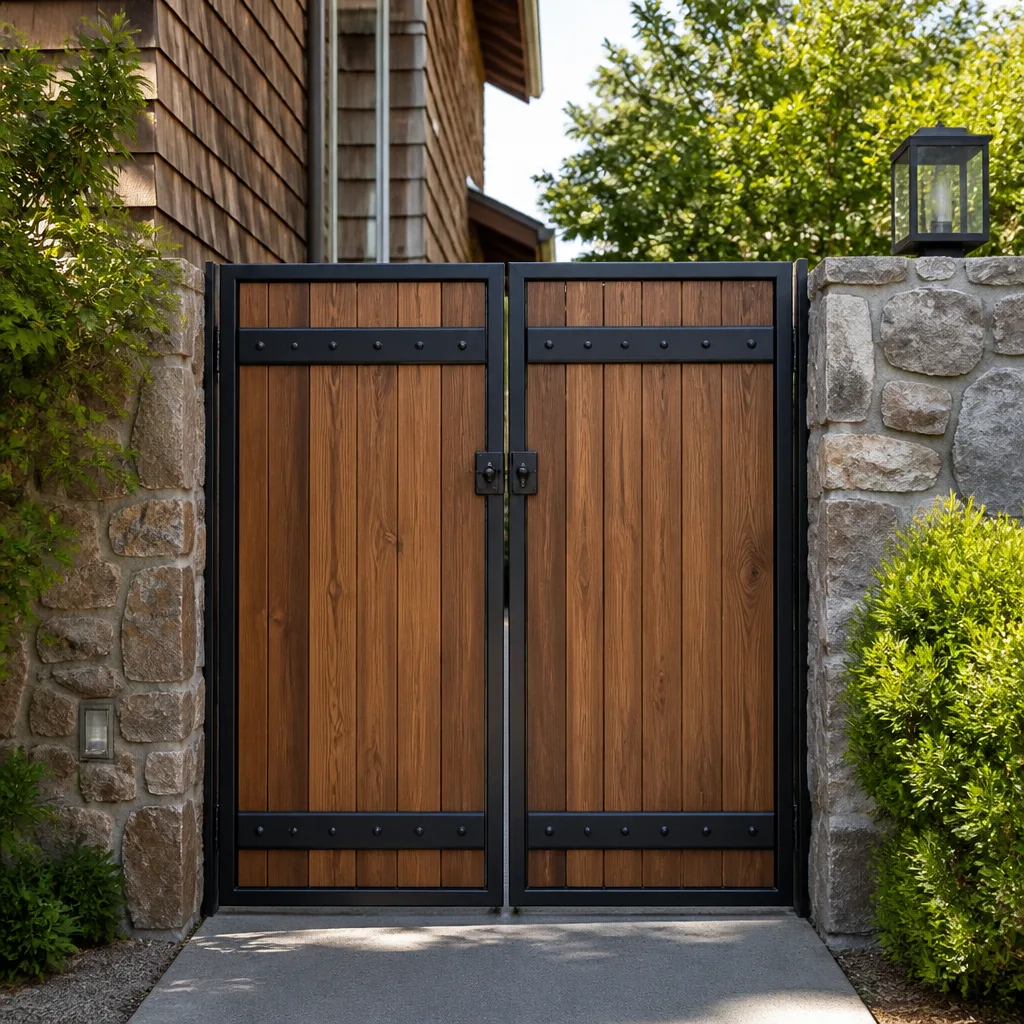 Wood & steel frame
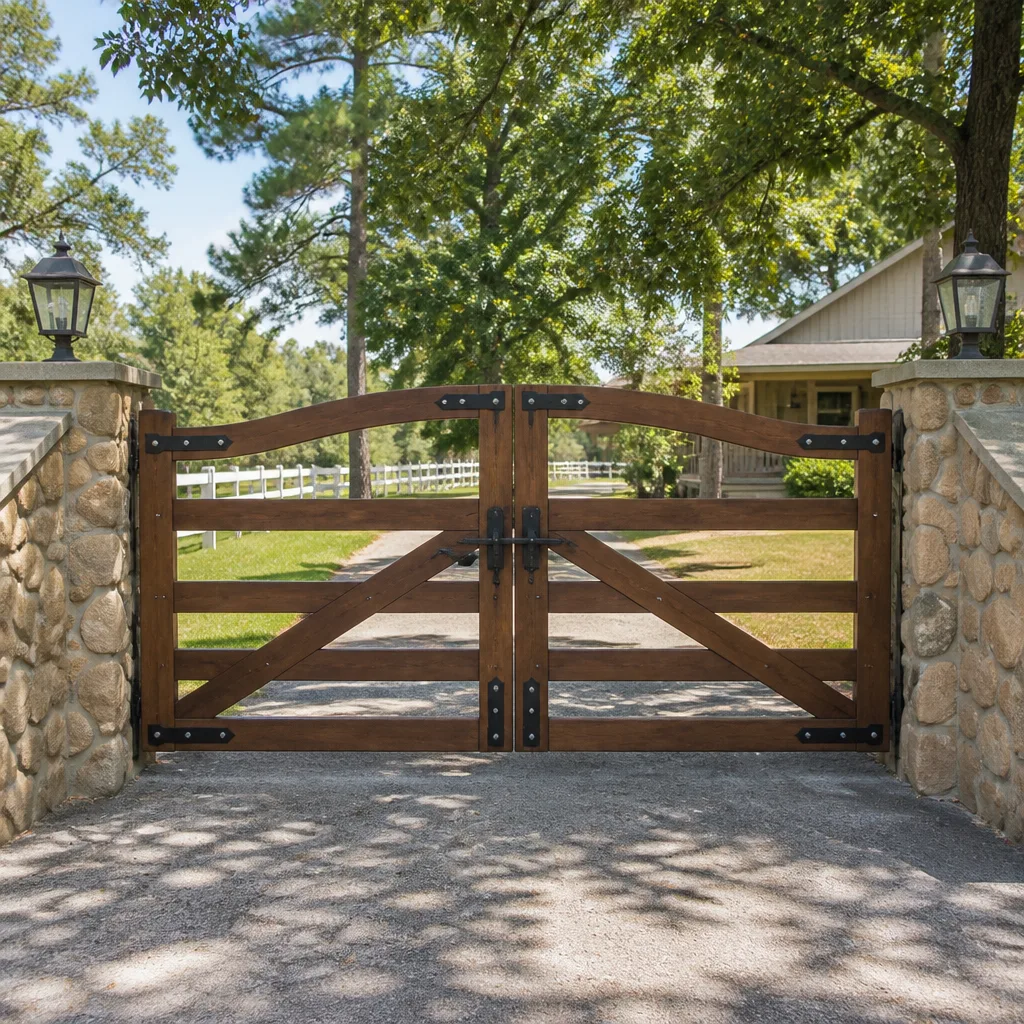 Farm & ranch
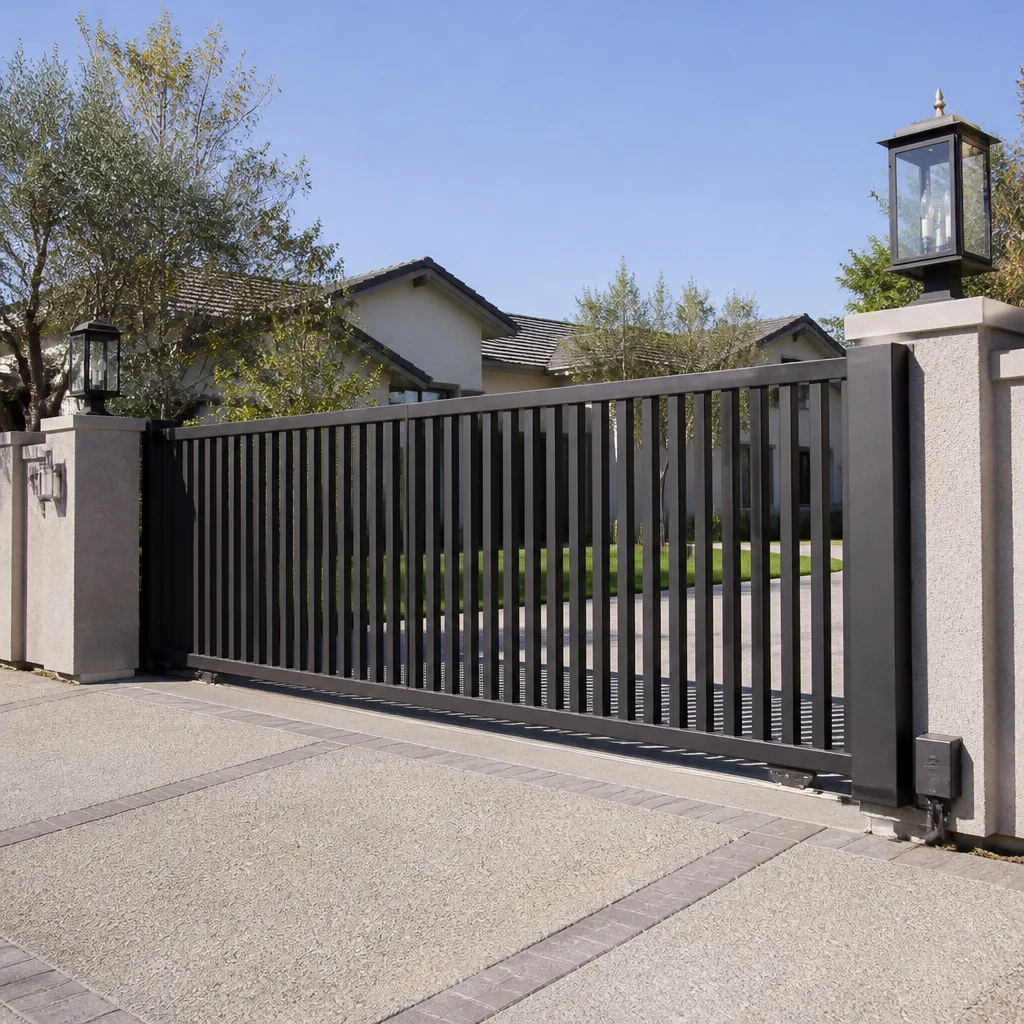 Sliding driveway gates
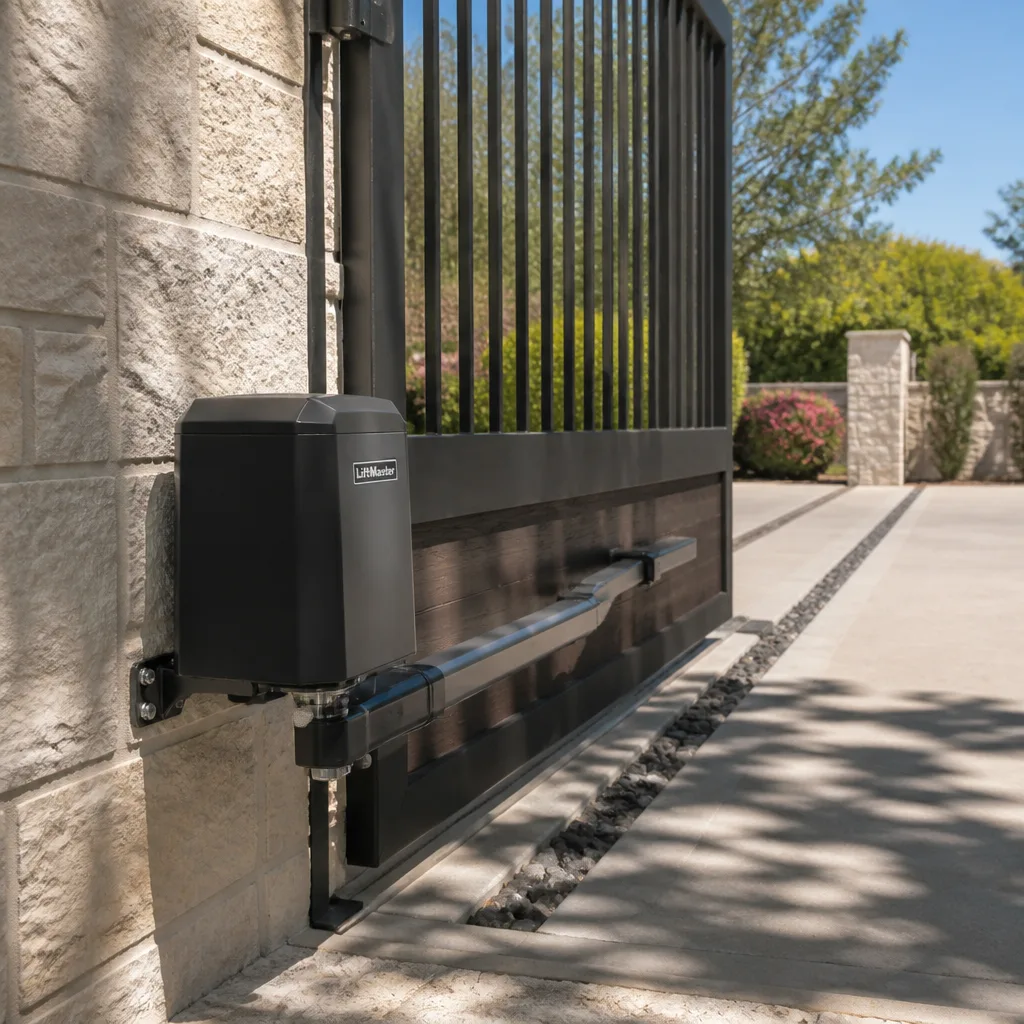 LiftMaster operators
Free on-site gate assessment - hinges, posts, and your LiftMaster or Nice gate operator checked before anything is quoted
The assessment is free and the quote is the invoice.
Get your free estimateGate Repair Maintenance Checklist for Tampa Homeowners
Here’s a counterintuitive fact we’ve learned from thousands of Tampa gate repairs: the single most skipped maintenance step is also the one that causes the most expensive secondary damage. Homeowners grab a can of WD-40, spray the hinges, and feel like they’ve done the job. But petroleum-based sprays attract the fine silica sand common to Tampa’s western neighborhoods, from Westchase to South Tampa, and that grit grinds the hinge barrel from the inside. What starts as a $20 lubrication job becomes a $300 hinge replacement. This guide gives you a month-by-month maintenance routine calibrated to the specific stressors of Hillsborough County: the wet season, the pest pressure, and the afternoon electrical storms that take down automatic gate components every summer.
Quick Answer
A proper gate maintenance checklist for Tampa homeowners should follow a monthly visual inspection, a quarterly lubrication routine using dry PTFE spray on hinges and silicone on rubber seals, pre-wet-season electrical checks in May, post-storm hardware inspection in October, and annual termite inspection for wood gates. The routine should account for Tampa’s high humidity, silica sand, fire ant pressure, and afternoon lightning storms. Most homeowners can handle visual inspections and lubrication, but electrical troubleshooting and load-bearing hardware replacement should go to a trained gate technician offering Gate Repair services.
Styles & brands we work with
Table of Contents
- What Tampa’s Weather Actually Does to Your Gate
- Your Monthly Gate Inspection Routine
- The Right Lubricant for Every Gate Component
- Tampa’s Month-by-Month Gate Maintenance Calendar
- Pest-Specific Inspection Points for Tampa Gates
- Electrical Gate Maintenance Before the Wet Season
- How to Document Gate Problems with Photos
- What Your Warranty Covers Versus What You Own
What Tampa’s Weather Actually Does to Your Gate
Tampa’s climate is not kind to exterior metal and wood. The combination of 85% average humidity, daily afternoon thunderstorms from June through September, and the highest lightning strike density in North America creates a maintenance environment unlike anywhere else in Florida. Your gate doesn’t just sit there. It’s being worked on every day by salt air if you’re in South Tampa or Ballast Point, by fine white sand if you’re in Westchase, and by morning dew that never fully dries if you’re near the Hillsborough River or Bayshore.
Here’s what actually happens over a 12-month period to an unmaintained gate in Tampa:
- Hinge barrels fill with sand and grind: Wind-blown silica from Tampa’s sandy soil gets into every moving joint. Without dry lubrication, metal-on-metal contact accelerates wear. We’ve replaced hinges on gates in Citrus Park that failed after just three years because sand acted as an abrasive inside the barrel.
- Condensation inside control boxes: The humidity penetrates LiftMaster and FAAC control boards, causing corrosion on terminals. A gate that works fine in March may short out in August because the board has been sitting in a damp enclosure for two months.
- Lightning damage to circuit boards: Tampa Bay averages over 80 thunderstorm days per year. Automatic gates with ungrounded wiring are lightning magnets. We see fried BFT and Viking boards every week from June through September.
- Wood rot at the post base: Cypress and pine posts absorb moisture at ground level, especially if the base isn’t sealed. The soil in Tampa retains water after summer rains, and that moisture wicks up into the post over weeks.
- UV degradation of plastic components: Tampa’s intense sun bleaches and cracks plastic keypads, antenna covers, and solar panel housings. A ghost of what was once black becomes a brittle gray shell that shatters on impact.
None of this is a secret to Tampa homeowners who’ve lived here long enough. But most people don’t connect the dots between weather patterns and a maintenance schedule. That’s the whole point of this guide: match your maintenance to the actual calendar of Tampa, not a generic template written for a dry climate like Phoenix or a cold one like Chicago.
Your Monthly Gate Inspection Routine
This is the single most effective thing a Tampa homeowner can do, and it costs nothing. Once a month, walk to your gate and spend five minutes looking at it with intention. Here’s the exact routine I recommend to homeowners in the Latch and Post Gate Repair Tampa home service area:
- Open the gate fully and stand back five feet. Look for sagging on the latch side. If the top rail slopes down toward the latch, the post on the hinge side has started to settle. In Tampa, this is almost always caused by soil compaction after heavy rains or tree root pressure. A gate that sags more than half an inch from level needs professional attention before the latch stops engaging.
- Lift up on the latch end of the gate. There should be no vertical play, or less than a quarter inch of movement. Play indicates loose hinge bolts or worn hinge barrels. Tighten bolts you can reach. If the play is in the hinge barrel itself, note it as a candidate for replacement.
- Look at the bottom gap. The gap between the bottom rail and the ground should be consistent along the entire width. If it’s tighter on one side, you have post settlement. In Tampa, we see this most often in neighborhoods built on reclaimed land or near drainage canals, where the soil shifts more than homeowners expect..
- Test the latch. Close the gate and give it a firm tug. Does the latch spring back and hold? If it feels mushy or doesn’t seat on the strike plate, the strike plate may have shifted. A well-functioning latch should feel crisp, not soft.
- Look for rust along all welded joints and bolt heads. Surface rust is cosmetic. Bubbling rust or flaking metal is structural. Make a note of it and check again next month to see if it’s spreading.
- If it’s an electric gate: watch and listen. Run the operator through one full open and one full close cycle. The movement should be smooth, with no hesitation at the start and no slamming at the end. Listen for grinding or clicking that wasn’t there before. If the gate starts to move and then reverses, that’s a safety sensor issue, not a mechanical failure.
- Check the ground clearance of solar panels, battery boxes, and keypads. Grass may not be the problem. In Tampa, fire ant mounds can build up six inches in a week. They cover the bottom edge of control boxes and can eventually enter through cable ports.
That’s it. Five minutes per month catches 80% of the problems that eventually turn into a gate repair emergency in Tampa that costs real money. The goal isn’t to fix everything yourself. The goal is to catch changes before they become failures.
The Right Lubricant for Every Gate Component
Here’s where Tampa homeowners lose more money to bad advice than any other area of gate maintenance. The internet is full of generic advice to “lubricate the gate.” It rarely says what to use, and the default choice of most people is WD-40 or whatever spray lubricant is on sale at the hardware store. In Tampa’s sandy environment, that’s often worse than doing nothing.
Why Not WD-40?
WD-40 is a water-displacing penetrating oil. It’s designed to break rust and free seized parts, not to provide lasting lubrication. It attracts dust and sand, which is the opposite of what you want on a Tampa gate. Within a week of applying WD-40, the hinge will have accumulated a paste of oil and silica dust that accelerates wear on the hinge pin. Every hardware store in Tampa sells better options for the same price.
The Correct Lubricant by Component
- Hinges and hinge pins: Dry PTFE spray, also called Teflon spray. It goes on wet and dries to a slick film that doesn’t attract sand. Look for brands like Blaster Advanced Dry Lube, WD-40 Specialist Dry Lube (yes, the WD-40 brand makes a different product for this purpose), or DuPont Teflon Non-Stick Dry-Film. Spray the hinge point where the pin passes through the barrel, then work the gate back and forth a few times. Wipe off any excess that drips onto the gate body.
- Latch mechanism and strike plate: A very light coat of white lithium grease on the internal spring and pivot points. Do not spray the face of the strike plate or the latch bolt. Grease there will smear onto the frame and attract dirt. Less is more.
- Rubber seals and weather stripping: Silicone lubricant only. Petroleum-based sprays will break down rubber over time, especially in Tampa’s UV and heat. A light spray of silicone keeps rubber flexible and prevents it from sticking to the gate frame in high humidity.
- Roller wheels on sliding gates: Dry PTFE on the bearing points of each wheel. No grease, because grease holds the dust that sliders kick up constantly. If the wheels have grease fittings, you may need a specific bearing grease, but most residential Tampa sliders keep sealed bearings that only need PTFE.
- Electric strike plates: Nothing. Do not lubricate an electric strike. The internal solenoid and spring are designed to run dry. Adding lubricant will cause dust to accumulate inside the strike and may prevent it from releasing cleanly. If the strike is sticking, that’s a sign the plate or alignment needs adjustment, not oil.
- Limit switches and safety sensors (photo eyes): Nothing on the mechanism. Use a dry microfiber cloth on the sensor lenses. Rain splash combines with dust and pollen to cloud the lenses, and a clean lens fixes most intermittent reversing issues on Tampa electric gates.
You can find all of these products at any Home Depot, Lowe’s, or Ace Hardware in Tampa, and none of them cost more than $8 per can. The right lubricant used quarterly will outlast the wrong one used monthly, and it will save you the cost of replacing hinges or latch hardware prematurely.
One caution from our experience: if a hinge has already developed play or a visible gap between the pin and the barrel, lubrication won’t fix it. At that point, the metal has worn away and no spray can rebuild it. Continuing to lubricate a worn hinge just delays the inevitable replacement, which is a straightforward repair that any gate installation or repair specialist in Tampa can do quickly.
Tampa’s Month-by-Month Gate Maintenance Calendar
A maintenance checklist that ignores Tampa’s wet season, pest pressure, and afternoon electrical storms isn’t a checklist. It’s a generic template that will let your gate degrade on schedule. Here’s the calendar we use when advising homeowners in Hillsborough County, built around the actual weather patterns of the Tampa Bay area. For Gate Repair Warning Signs: A Tampa Homeowner’s Reference Guide, see our companion resource.
January and February: Dry Season Prep and Wood Gate Sealing
These are Tampa’s coolest, driest months, with lower humidity and almost no afternoon storms. This is the window to do maintenance that requires dry conditions and stable temperatures. If you have a wood gate, this is the time to clean it, let it dry completely, and apply a fresh coat of quality exterior sealant or stain. In Tampa’s humidity, wood that isn’t sealed by February will swell during the wet season and contract again next winter, which opens cracks at joints and lets water into the post caps. One thorough sealing in February can prevent most of the wood gate rot we see in South Tampa and Seminole Heights.
February is also the time to check the post bases of any wood or vinyl gate, before the rain starts. Look for discoloration at the ground line, soft spots, or any give when you push against the post. If the post moves, call a pro before the wet season adds the weight of saturated soil to an already-compromised base.
March and April: Pre-Wet-Season Structural Check
These are the last reliably dry months in Tampa, and they’re the best time to handle structural repairs that need dry ground and no interruption from weather. Walk the gate and check every bolt, every weld point, and the overall alignment. If you found sagging during your monthly inspection, now is the time to address it. A gate that sags in March will only sag more once the ground softens in June.
This is also the time to check drainage around the gate area. Make sure the ground slopes away from the posts, not toward them. If water pools at the base of the gate after a heavy rain, the timber or concrete will eventually suffer. In Tampa neighborhoods like Palma Ceia and Hyde Park with mature tree roots, shifting soil can alter drainage patterns over time. A simple regrade of the first six inches of soil around the post can make a measurable difference.
May: Electrical System Verification
May is the last month before Tampa’s daily thunderstorm cycle begins. This is the time to handle all electrical maintenance. Schedule an electric gate inspection in Tampa with a technician who can check the grounding, the surge protection, and the condition of the control board. If your surge protector is more than three years old, replace it now. A $40 surge protector is dramatically cheaper than a $600 LiftMaster or FAAC control board replacement after a summer lightning strike.
Even if you skip a professional visit, you can do two things yourself in May. First, tighten every wire connection in the control box using a small insulated screwdriver, with power disconnected. Second, look for any corrosion on the board itself. A green or white powdery film means moisture has been getting inside the box. That’s a sign the enclosure seal is failing, and summer humidity will make it worse.
June through September: Wet Season Monitoring
Tampa’s wet season runs from roughly June 1 through the end of September, and this is when most gate failures happen. The daily afternoon thunderstorms flood the soil, saturate the air, and create the conditions for electrical shorts and ground shifting. Your job during these months is not to do major work. It’s to watch.
After any storm that brings more than two inches of rain, check the gate for new sagging, new stickiness in the movement, or any change in the way the latch engages. The ground around gate posts becomes soft and plastic in June, and a post that was solid in May can start to lean by July. Check the control box for condensation. If water droplets form on the inside of the lid, leave the box open on a sunny afternoon to dry it out, then look for the source of the leak. Small cracks in the enclosure or a missing gasket are the usual culprits.
One more wet-season habit: run the operator manually once every two weeks. Even if you use the automatic opener every day, taking the gate off the operator arm and running it by hand confirms that the gate itself moves freely. If it doesn’t, the torque load is being forced onto the operator. In Tampa’s wet season, operators that work against a dragging gate fail at a dramatically higher rate.
October: Post-Storm Hardware Inspection
By October, the daily storms have stopped and the ground has begun to dry. This is the month to inspect everything that June through September may have stressed. Go through the entire monthly checklist again with fresh attention. Look specifically for changes from before the wet season. If you photographed the gate in April, compare those photos to what you see now. A quarter-inch of new sagging that developed over the summer will worsen if left alone.
October is also the month to service the operator. The humid summer has put maximum wear on the grease inside the gearbox and the corrosion on the control board. We recommend a professional service visit in October for electric gates, where a technician can clean and regrease the gearbox, check the capacitor, and verify that the force settings are still correct. The goal is to bring the gate system into the dry season in good shape.
November and December: End-of-Year Checks and Holiday Prep
These are cooler months in Tampa, with the dry air that makes December the second-best window for maintenance after January. Use this time to do two things. First, check the gate’s security. If it’s an automatic gate with a keypad, replace the code if it hasn’t been changed in six months. If you have a Viking or Linear keypad that’s showing wear on the buttons, the dry season is the right time to replace it, before the humid months shorten its life.
Second, assess what failed or wore during the previous year. This is the moment to build next year’s maintenance budget, not to be surprised by it. A gate that needed hinge lubrication twice this year may need new hinges. A control board that reset twice during summer storms may need a new surge protector. Being honest about what the year revealed is what separates homeowners who maintain their gates from homeowners who are always reacting.
Pest-Specific Inspection Points for Tampa Gates
Most gate maintenance guides never mention pests. That’s a mistake in Tampa. The same climate that makes this area so liveable also supports a pest pressure that most of the country never sees. Three pests in particular cause recurring gate problems in Hillsborough County, and each one has a specific signature you need to recognize.
Subterranean Termites in Wood Posts
Subterranean termites are active year-round in Florida, but their damage becomes visible most often in the spring, when swarms emerge. Their entry point into a gate is almost always the post base, where wood meets soil. They build mud tubes up the side of the post unless inspection reveals them first. Here’s what to look for monthly if you have a wood gate or wood post:
- Mud tubes: small tunnels of soil and saliva running vertically along the post, usually on the hidden side facing away from the house or toward a fence line.
- Hollow-sounding wood: tap the post with a screwdriver handle. Solid wood thuds. Termite-damaged wood sounds hollow.
- Tiny holes with a ring of frass (termite droppings that look like wood-colored pellets) at the base.
If you see any of these signs, do not treat the post yourself with big-box termite sprays. The gate post is structural. Schedule an inspection with a licensed pest control operator and, if the post is compromised, call a gate professional who can replace it properly. In Tampa, gate replacement after termite damage often means removing the post, checking the concrete footing, and installing a pressure-treated or steel replacement. Before starting any work, review Gate Repair Permits, Codes & Inspections in FL: What You Need to Know.
Fire Ants in Control Boards
Fire ants are attracted to the warmth and dry shelter of gate control enclosures, and they have a particular affinity for LiftMaster enclosures mounted close to the ground. The ants enter through cable grommets, build a nest on the circuit board, and their bodies create corrosion that shorts the board. A LiftMaster or Viking board that’s been ant-nested often shows a characteristic pattern of white deposits around the terminals, stained by ant activity.
The best prevention is a granular fire ant bait, applied around the base of the gate post every month during warm weather. Baits like Amdro or Advion works by the ants carrying it back to the colony, and it’s far more effective than spraying the control box. If you do find ants inside the box, power everything down and blow the ants out with compressed air, then seal the cable entry points with a silicone caulk.
Mud Daubers on Solar Panels and Sensors
Mud daubers are a type of wasp that builds small mud tubes in sheltered locations. On Tampa automatic gates, their favorite spots are the undersides of solar panel housings, the backs of photo eye sensors, and the interior corners of control boxes. The nests themselves don’t cause direct damage, but they block the sun from solar panels and the signal path between photo eyes, leading to intermittent operator failures that are extremely difficult to diagnose because they only happen in certain weather conditions.
Check the underside of solar panels and the faces of photo eyes every month during warm weather. Scrape off any mud nests gently with a plastic scraper, not a metal one that can scratch the panel or sensor surface. If the wasps are active while you work, plan the inspection for early morning, when they’re less aggressive, or consider a professional wasp treatment if nests recur.
These pest inspections add about two minutes to your monthly routine, and they prevent the kind of mystery failures that lead to expensive service calls. A gate that won’t close because mud daubers built a nest on a photo eye is a $15 scrape fix if caught early. A gate that won’t close because the control board was ant-nested for two months is a $500 board replacement.
Electrical Gate Maintenance Before the Wet Season
If your Tampa gate is automatic, electrical maintenance isn’t optional. The wet season, from June through September, brings both high humidity and the highest frequency of lightning strikes in the United States. Both are existential threats to the electronics that move your gate. May is the month to do electrical work, and here is the complete checklist for the conscientious Tampa homeowner.
- Check the surge protection. The surge protector at the operator should be a replaceable module. Look for a small indicator light or a replaceable fuse. If the module is marked as expired, or if it’s more than three years old, replace it now. In Tampa, a surge protector that has absorbed one significant strike may still look fine from the outside but no longer be protecting anything.
- Inspect every splice and connection. Turn off the breaker to the operator, open the control box, and use a small insulated screwdriver to check each terminal. Vibration works wire nuts loose over time, and humidity accelerates corrosion on any connection that isn’t tight. A loose neutral wire can cause intermittent operator failures that are expensive to diagnose.
- Look at the battery backup (if present). Tampa’s power grid experience rolling outages during summer storms. The battery backup is what keeps your gate working when the power fails. Check the battery date code. Most gate batteries last three to five years in Florida’s heat. If the battery is swollen, hot to the touch, or dated before 2022, replace it.
- Check the ground rod. The grounding conductor runs from the operator to a ground rod driven into the soil near the gate. Look for a bare copper wire clamped to a metal rod, and check that the clamp is tight and the wire is intact. If you see green corrosion at the clamp, loosen it, wire-brush the contact points, and retighten. A good ground is your first line of defense against lightning damage.
- Test the safety sensors. Place a solid object in the path of the gate while it’s closing. The gate should reverse immediately. Test both photo eyes if there are two. If the gate doesn’t reverse, stop using the automatic function until the sensors are repaired. A gate that can’t reverse on obstruction can cause serious injury.
- Verify the force settings. A properly adjusted operator will stop and reverse if it encounters resistance, such as a child’s hand or a pet. The force setting should be as low as possible while still moving the gate reliably. If your gate crushes a cardboard box that’s placed under the gate edge, the force setting is too high. This is a professional adjustment on most FAAC, BFT, and Viking operators.
Electrical work on an automatic gate carries real risk. The capacitor inside the operator can hold a charge even with power disconnected, and a lightning-damaged board can behave unpredictably. If any of these steps is outside your comfort level, a factory-trained technician can complete the whole checklist in under an hour, and in our experience, that’s money well spent compared with the cost of a control board replacement.
How to Document Gate Problems with Photos
Here’s a technique that sounds simple but has a profound effect on how quickly and accurately a gate problem gets diagnosed: photograph your gate’s position and gap measurements once a year, from the same angles, on the same dates. When something changes, you have proof. When a post settles or shifts, you can show it. When a repair technician asks “has the gate always sagged like this?”, you can answer with certainty instead of memory.
Here’s the exact method we recommend to Tampa homeowners:
- Pick a date every year. Late February or early March works well, after the ground has stabilized but before the spring rains. The same date every year gives you consistent comparisons.
- Photograph from the same three angles. Stand directly in front of the gate, door side facing you, from ten feet away. Stand to the side, showing the gate edge and the post, from five feet away at eye level. Kneel and photograph the bottom edge of the gate against the ground, showing the gap from end to end.
- Measure the gap at both ends. Use a ruler or tape measure to record the distance from the ground to the bottom rail at the hinge end and at the latch end. Write these numbers on a sticky note and photograph the note next to the measurement point. This gives you a permanent record of what the gate looked like at that date.
- Photograph the hardware. Close-up shots of each hinge, the latch, the strike plate, and the control box interior. At the resolution of a modern phone camera, these photos will reveal changes over time that your memory won’t: new rust, new cracks, new gaps.
- Store the photos in one place. A dedicated album on your phone, backed up to the cloud. Set a calendar reminder for the next year. When a technician asks about the history of your gate, you’ll have the answer.
This method has resolved more than a few repair debates. A homeowner in Westchase once showed us photos proving that her gate post had shifted three and a half inches over eighteen months, which we could trace to a drainage issue from a neighbor’s new construction. Without those photos, we would have guessed at the cause and replaced hardware without fixing the root problem. With them, the correct repair was obvious. Concrete heave and soil settlement in Tampa are gradual processes, and the only way to win against gradual change is to document it.
What Your Warranty Covers Versus What You Own
One of the most common questions we get on service calls is: “Does my warranty cover this?” The answer depends on a clear distinction between two categories of work: the repair or installation that a professional did, and the ongoing maintenance that the homeowner owns. Here’s how the 365-Day Done Right Promise from Latch and Post Gate Repair Tampa works, and where the line is drawn.
What the 365-Day Done Right Promise covers: If a repair or installation done by Latch and Post isn’t right, Latch and Post makes it right. That means: if a hinge we replaced starts to fail, if a latch we installed doesn’t hold, if an operator we adjusted goes out of calibration, we come back and fix it. No argument, no fine print. The promise covers the work we did, for 365 days after the job.
What routine maintenance the homeowner owns: Wear and tear that happens after a repair is not the repair failing. It’s the gate continuing to age. If hinge lubrication that was fresh in March wears away by November, that’s a maintenance item. If a storm takes down a tree and the gate post is structural, that’s a new repair. If a fire ant colony nests in the control box two months after a board replacement, that’s an environmental issue that no repair can prevent.
Here’s the honest explanation we give every Tampa homeowner: a gate is a machine that lives outside in a harsh climate. The repair we do can be done right and still be followed by new problems, because the gate is still being exposed to sun and sand and humidity and insects. The promise covers our work. The maintenance checklist in this guide covers what happens between our visits. Both are necessary, and neither replaces the other. Explore our more guides & resources for year-round gate care.
This distinction matters because it prevents the frustration of a misunderstood warranty. When a homeowner expects a repair to make a gate immune to future problems, they’re setting themselves up to feel cheated. When they understand that a repair is a fix for a specific problem and that maintenance is the ongoing care that prevents a repeat, they make better decisions. They spend money on the right things at the right times, and their gate lasts decades instead of years.
Common Mistakes to Avoid
- Using WD-40 on hinges. Petroleum-based sprays attract Tampa’s fine silica sand, which grinds hinge barrels from the inside. Use dry PTFE spray instead.
- Ignoring the strike plate until the latch fails. A latch that feels mushy or doesn’t seat cleanly is a warning sign. The adjustment now is cheap; the replacement later is not.
- Running the operator without checking manual gate movement. If the gate itself drags, the operator works harder and fails sooner. Disconnect and hand-run the gate once a month.
- Treating termite signs as a cosmetic issue. Mud tubes and hollow-sounding posts mean structural damage. The sooner it’s caught, the smaller the post replacement.
- Leaving the surge protector in place past its useful life. A surge protector that’s absorbed a strike may look fine. Replace it every three years, before lightning season.
- Waiting until the wet season to do electrical work. The best time to check grounding, tighten connections, and replace batteries is May, before daily storms and high humidity set in.
- Guessing at the cause instead of documenting the baseline. Photos and measurements from when the gate was working well make it possible to prove what changed and when. Memory is unreliable over the course of a Tampa year.
See the difference
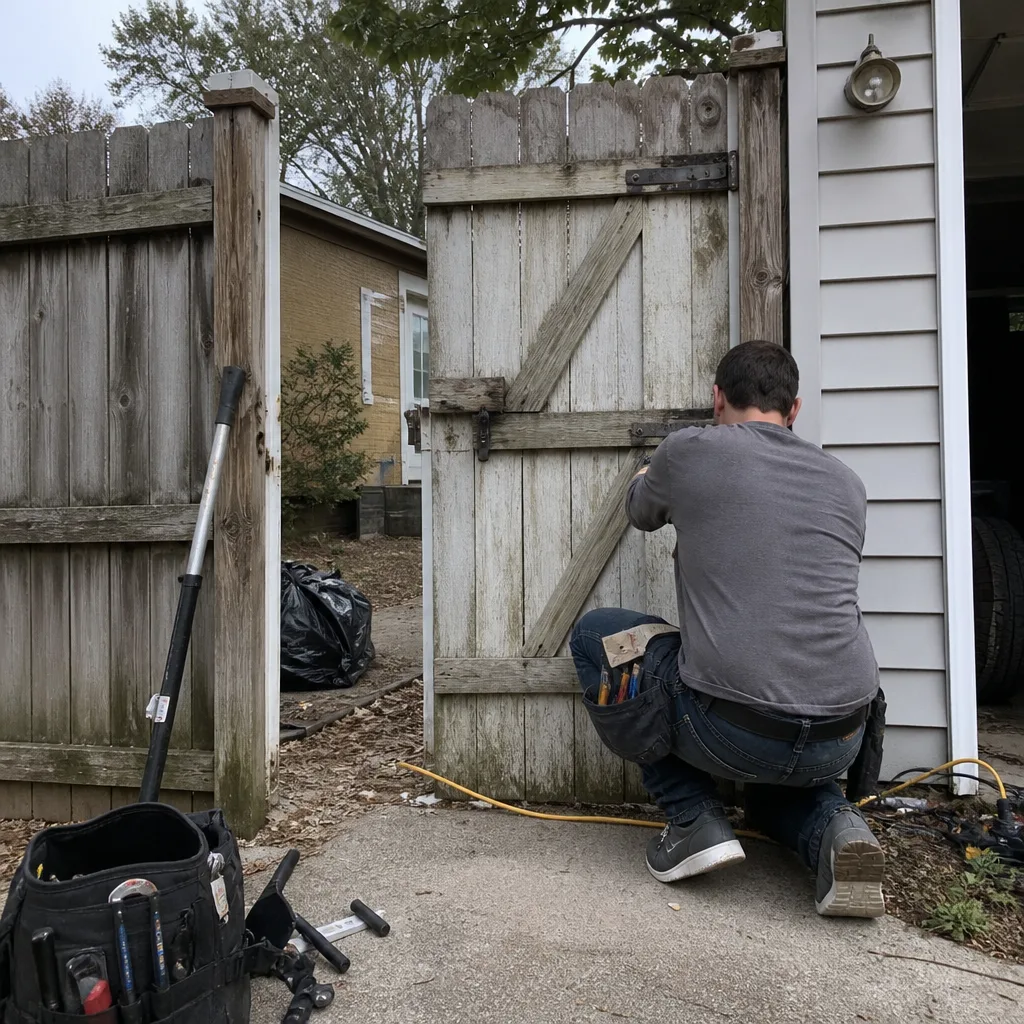 Before
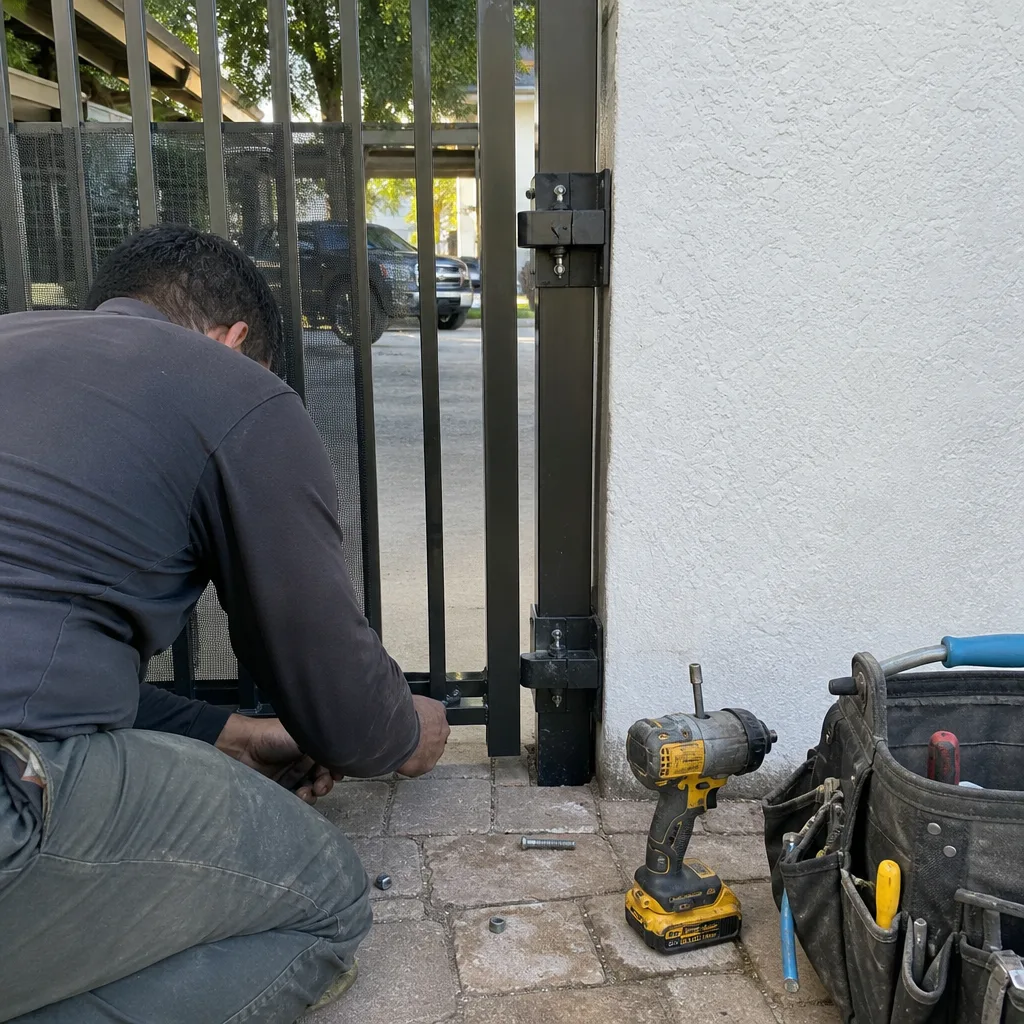 After
After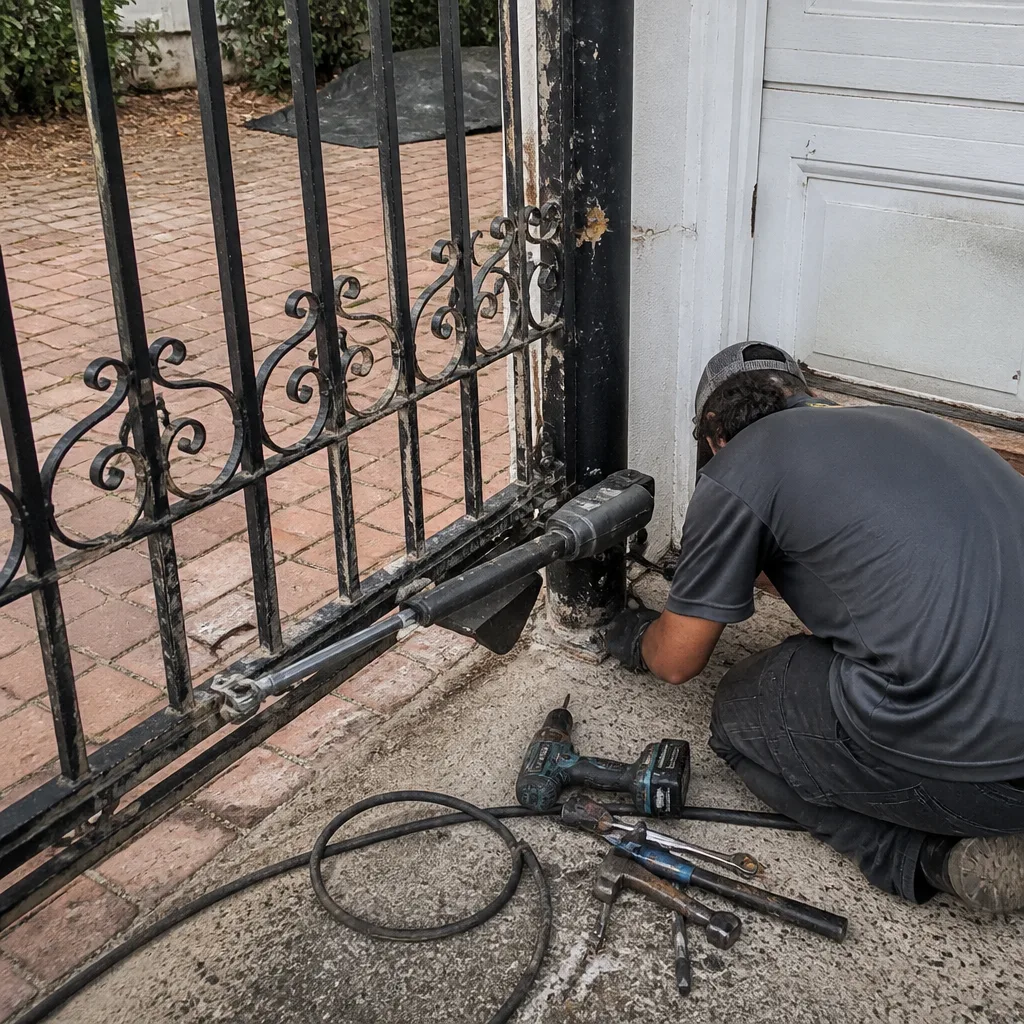 Before
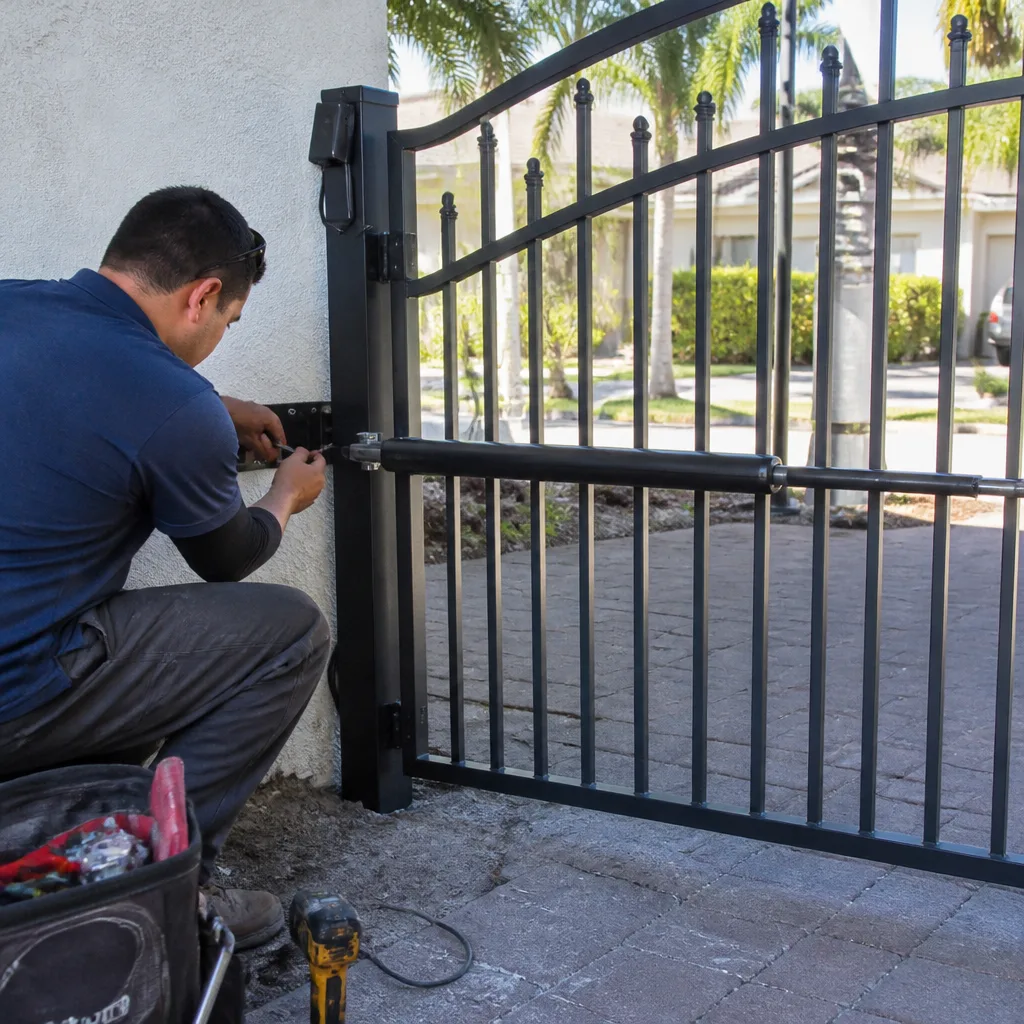 After
After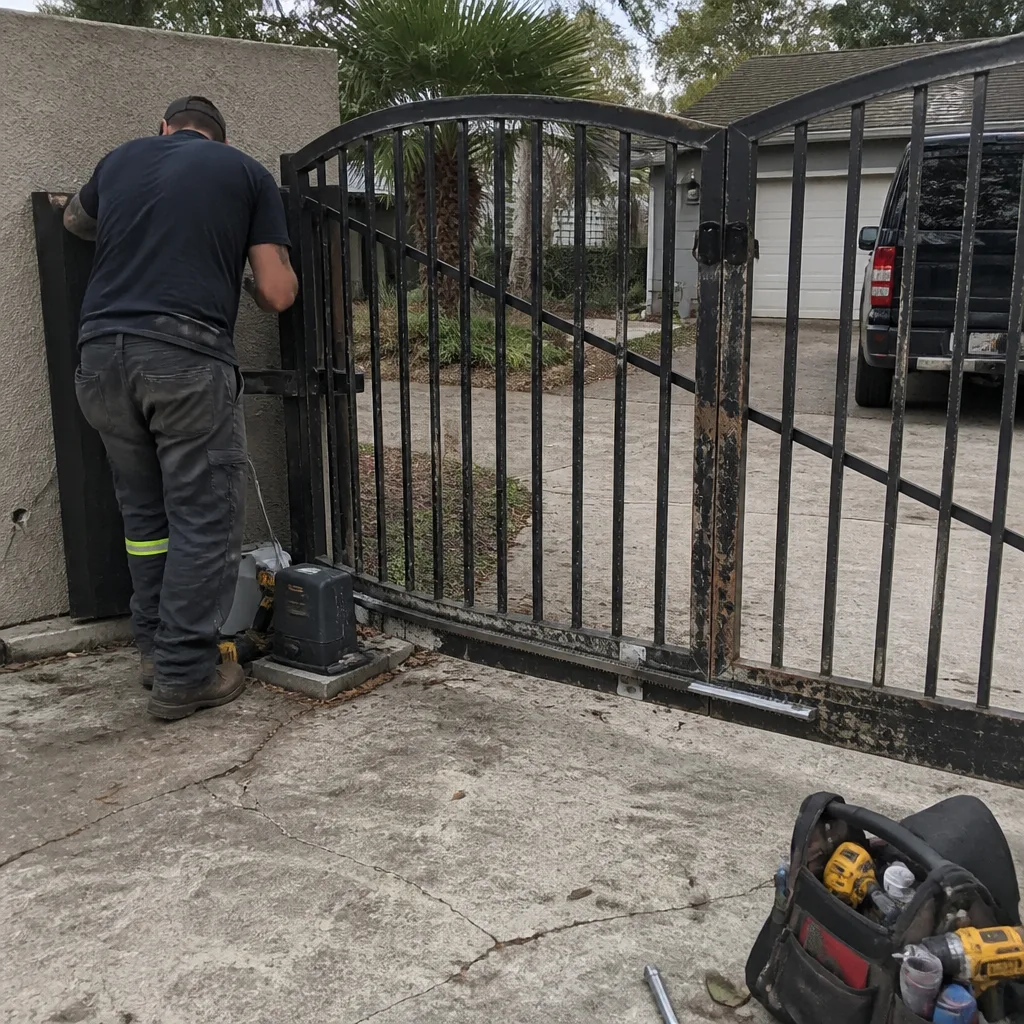 Before
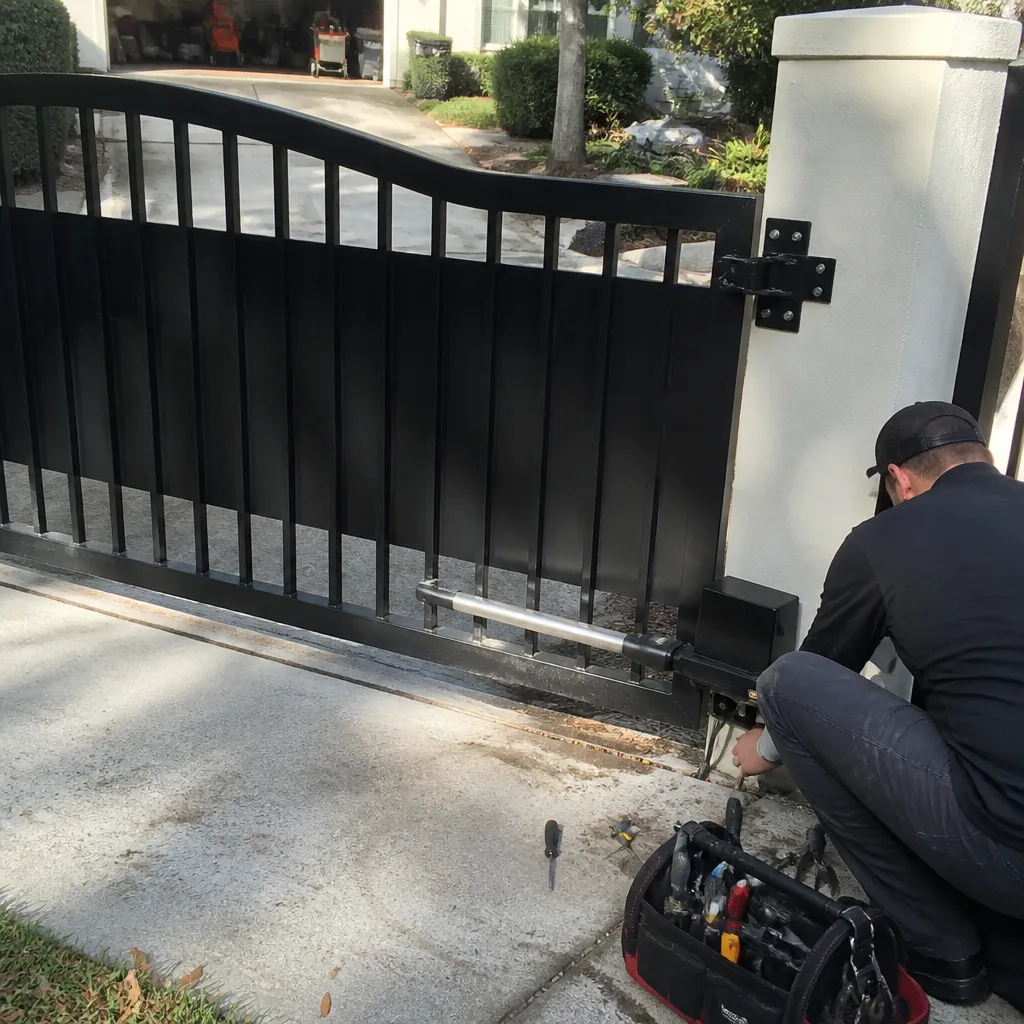 After
AfterWhen to Call a Professional
Some maintenance items are safely within a homeowner’s reach. Others require training, tools, and knowledge of the specific equipment involved. Here are the situations where calling a professional is the right call, not a last resort:
- The gate is sagging more than half an inch, and tightening hinge bolts doesn’t correct it.
- You see termite evidence (mud tubes, frass, hollow-sounding wood) on a wood post.
- The automatic operator makes a grinding noise, moves unevenly, or doesn’t reverse when it meets resistance.
- The control board shows corrosion, ant nesting, or signs of water intrusion.
- You hear a snap or see a cable detach, and the gate feels heavy or won’t move.
- The gate post has shifted, and the gate no longer closes with the latch lining up on the strike plate.
Latch and Post Gate Repair Tampa works exclusively on gate issues, and we offer free estimates to Tampa homeowners. If you’re not sure whether a problem is a maintenance item or a repair, call (850) 789-6299. We’ll help you understand what you’re dealing with before any work happens, and the written price comes before we touch anything.
Frequently Asked Questions
In Tampa’s sandy, humid climate, hinges should be lubricated quarterly with dry PTFE spray, and rubber seals should get a light silicone spray on the same schedule. Monthly inspections will tell you if conditions demand more frequent attention, but every three months is the baseline for a gate that’s exposed to full sun and rain.
Dry PTFE dries to a slick film that doesn’t attract sand, which makes it the right choice for exposed hinges and roller bearings in Tampa. White lithium grease stays wet and holds dust, so it should be used only on internal latch components where sand intrusion isn’t a factor, and applied sparingly.
Yes. Subterranean termites are present throughout Hillsborough County, and any wood post that touches soil is a potential target. Monthly inspection for mud tubes and a solid post tap-test are the most reliable ways to catch termite activity before the post is structurally compromised.
The 365-Day Done Right Promise covers the work Latch and Post Gate Repair Tampa performs. If a repair or installation isn’t right, we make it right within 365 days. It does not cover new damage from storms, pests, or ongoing wear and tear after the repair.
Homeowners who are comfortable working with electrical systems and who have the proper insulated tools can complete most of the May checklist themselves. However, the capacitor inside an automatic gate operator can hold a charge even with the breaker off. If you’re not confident about working inside a live electrical enclosure, a factory-trained technician is the safer choice.
A maintenance visit for an automatic gate typically includes lubrication, hardware tightening, safety sensor testing, and a control board inspection. Prices in Tampa vary by gate type and equipment brand, but the work is generally less expensive than the emergency repair that follows skipped maintenance. Call (850) 789-6299 for a written price before any work starts.
The Bottom Line
A gate that’s maintained on Tampa’s calendar will outlast a gate maintained on a generic schedule by years. The five-minute monthly inspection catches problems while they’re still cheap to fix. The quarterly lubrication with the right product saves hinges instead of ruining them. The May electrical check and the October post-storm inspection protect the most expensive components of an automatic gate. And the annual photo documentation turns fuzzy memories into a concrete baseline for every future decision. The knowledge in this guide is the difference between a gate that lasts fifteen years and a gate that needs major work every three. If you’d rather hand the whole list to someone else, call (850) 789-6299. We’ll follow it. If you’d rather do it yourself, now you know what to do, and when.
Written by Cody Beckman, Owner at Latch and Post Gate Repair Tampa, serving Tampa since 2009.